
How to Receive Money on PayPal
PayPal is one of the most popular online payment platforms in the world, offering a convenient way to send and receive money securely. If you are new to PayPal or looking to learn more about how to receive money on the platform, you’ve come to the right place. In this comprehensive guide, we will walk you through the steps to receive money on PayPal, whether you are a freelancer, an online seller, or simply receiving funds from friends or family.
Setting Up Your PayPal Account to Receive Money
Before you can start receiving money on PayPal, you need to ensure that your PayPal account is set up correctly. Here are the basic steps to get your account ready to receive payments:
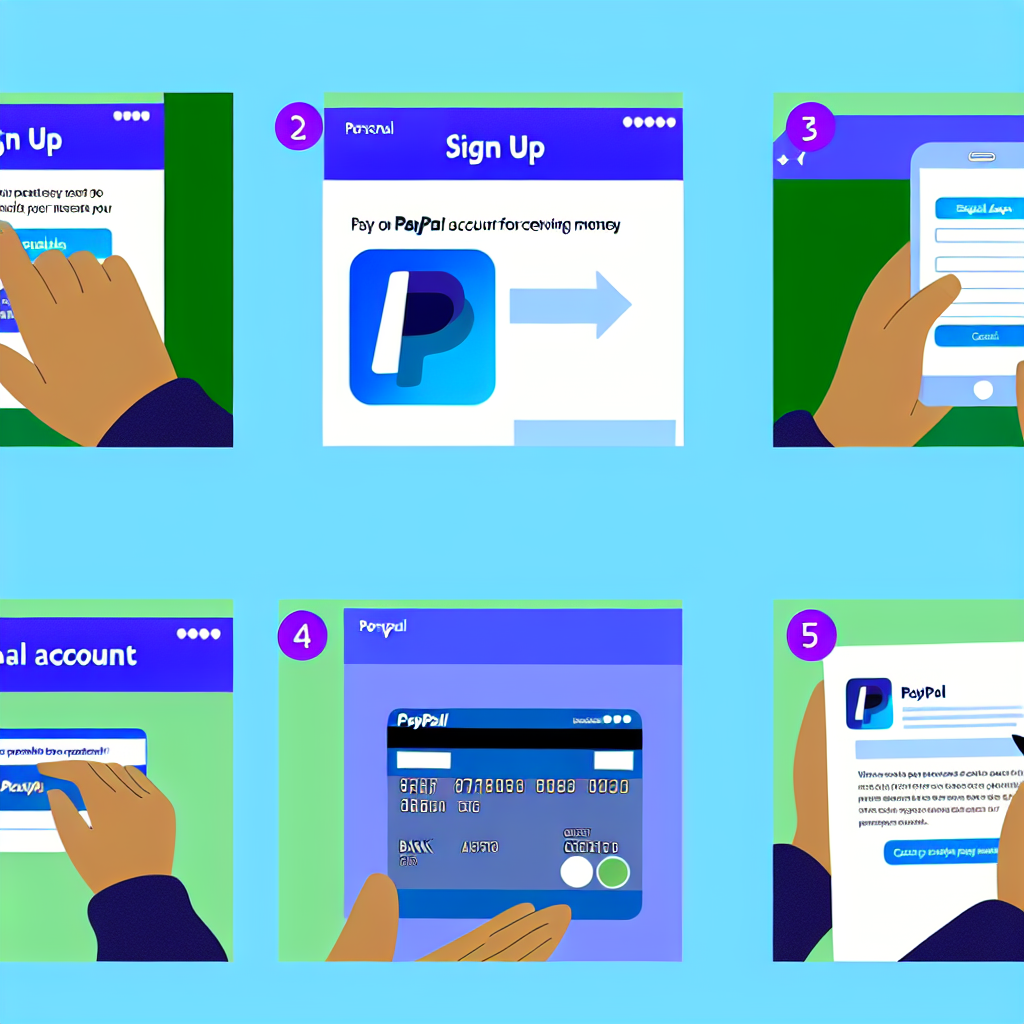
- Create a PayPal account: If you don’t already have a PayPal account, you will need to sign up for one. Visit the PayPal website and follow the instructions to set up your account.
- Verify your email and phone number: To receive money on PayPal, you need to verify your email address and link a phone number to your account. This helps to secure your account and ensures that you receive notifications about transactions.
- Link a bank account or debit/credit card: In order to withdraw the money you receive on PayPal, you need to link a bank account or debit/credit card to your account. This allows you to transfer funds from your PayPal balance to your bank account.
Receiving Money on PayPal
Once your PayPal account is set up and ready to go, you can start receiving money from various sources. Here are the different ways you can receive money on PayPal:
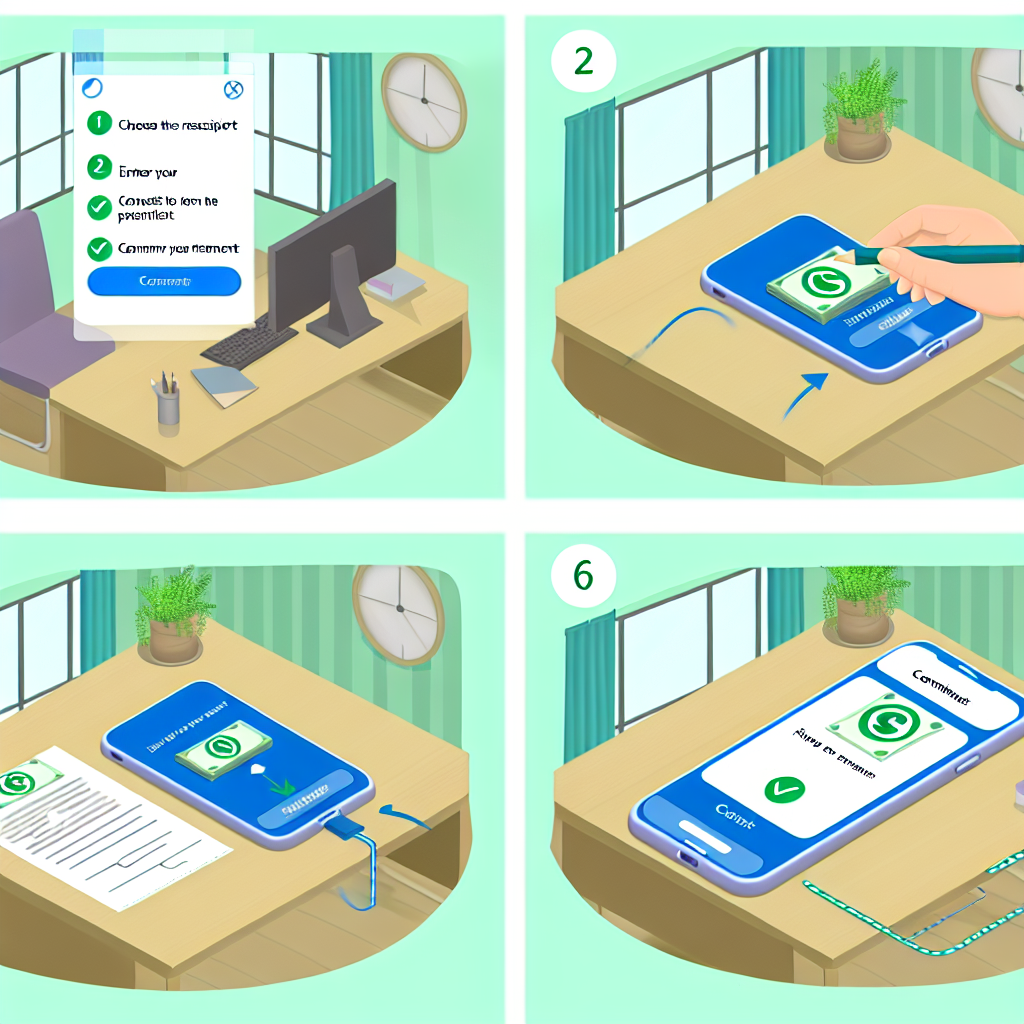
1. Request Money
One of the easiest ways to receive money on PayPal is by sending a money request to the person or entity that owes you money. Here’s how you can request money on PayPal:
- Log in to your PayPal account.
- Click on “Request Money” from the menu.
- Enter the email address or mobile number of the person you are requesting money from.
- Specify the amount you are requesting and the reason for the request.
- Click “Request Money” to send the request.
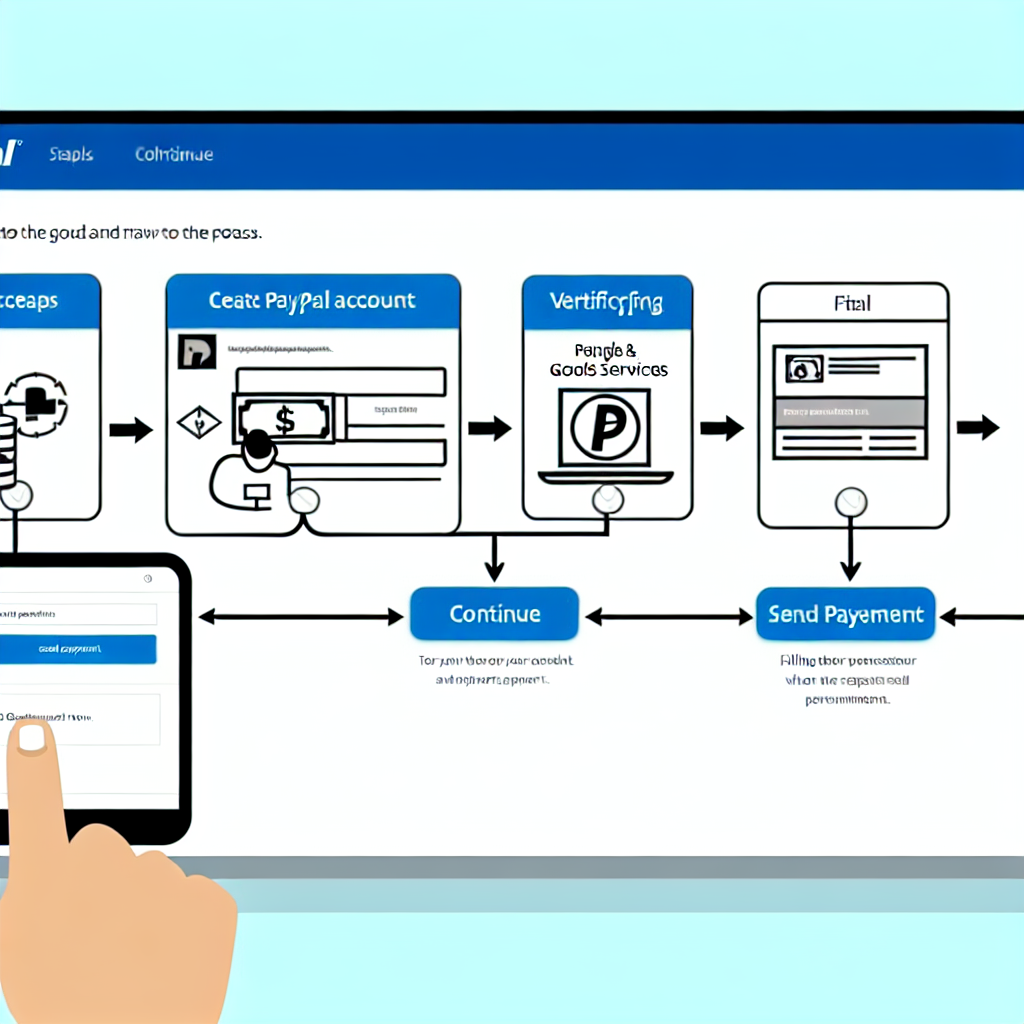
2. Receive Payments for Goods and Services
If you are an online seller or freelancer, you can receive payments for goods and services directly through PayPal. Here’s how you can receive payments for goods and services on PayPal:
- Generate an invoice: When selling goods or services, you can create an invoice using PayPal’s invoicing tools. This allows you to send a professional-looking invoice to your customers, complete with payment options.
- Share your payment link: You can also share your PayPal.me link with customers, making it easy for them to send payments directly to your PayPal account.
- Receive payments on your website: If you have an online store or website, you can integrate PayPal as a payment option to receive payments from customers.
3. Receive Funds from Friends and Family
PayPal also provides a convenient way to receive funds from friends and family. Whether you are splitting a bill, collecting money for a gift, or receiving funds for any other reason, PayPal makes it easy to transfer money between individuals. Here’s how you can receive funds from friends and family on PayPal:
- Request funds: You can send a money request to your friends or family members, specifying the amount you are requesting and the reason for the request.
- Use the PayPal app: With the PayPal mobile app, you can quickly send money requests or receive funds on the go.
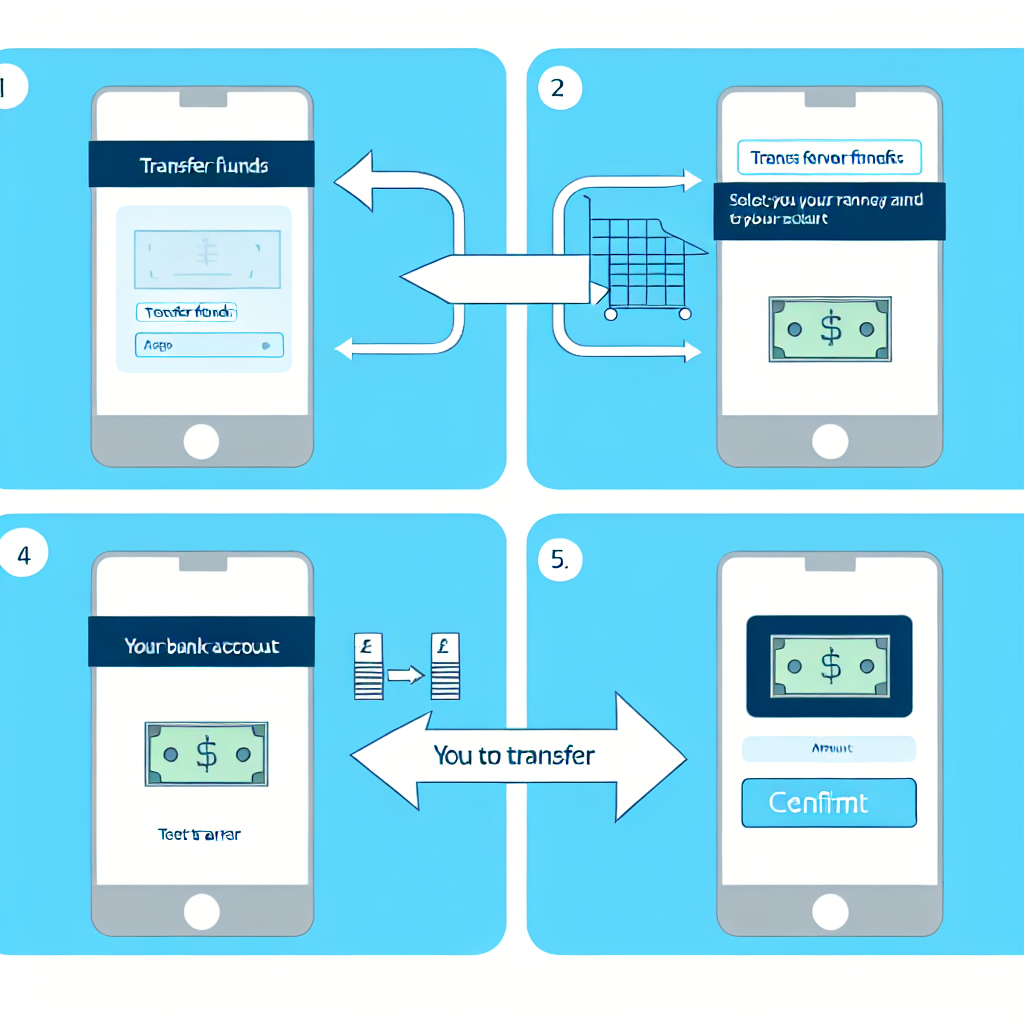
Withdrawing Money from PayPal
Once you have received money on PayPal, you may want to withdraw the funds to your bank account. Here’s how you can withdraw money from PayPal:
- Log in to your PayPal account.
- Click on “Transfer Money” and then “Transfer to your bank”.
- Enter the amount you want to transfer and select the bank account where you want to transfer the funds.
- Review the details and click “Transfer” to complete the transaction.
It’s important to note that PayPal may charge a fee for withdrawing money to your bank account, depending on your location and the type of transfer.
Conclusion
Receiving money on PayPal is a straightforward process that offers flexibility and convenience for individuals and businesses alike. By following the steps outlined in this guide, you can easily set up your PayPal account to start receiving funds from various sources. Whether you are requesting money, receiving payments for goods and services, or collecting funds from friends and family, PayPal provides a secure and reliable platform for managing your financial transactions online.